How to Upload a Piece of Paper
Learning how to transfer photos to wood is a unique and simple way to display your photographs. Information technology is one of the easiest yet well-nigh original DIY photograph projects you lot tin can conduct out at domicile.
I'll take you through ii ways to transfer your own cute print on woods. It'south upwards to you to choose which final await suits you all-time.
 [ExpertPhotography is supported by readers. Production links on ExpertPhotography are referral links. If you employ one of these and purchase something, we make a little bit of money. Need more than info? See how it all works here .]


How to Select a Photo to Transfer to Wood
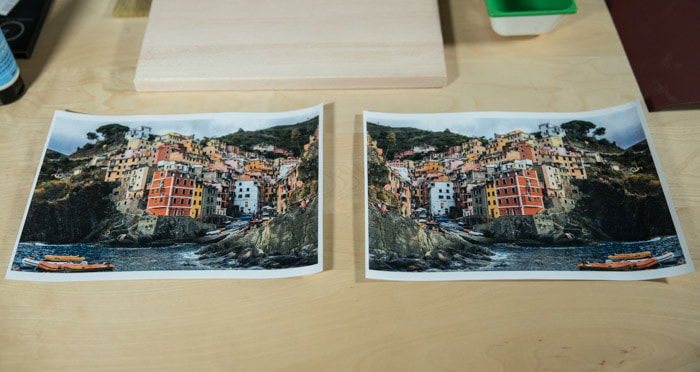
The pictures you select to make a photo transfer to wood are express merely by your imagination.
You tin choose to incorporate a colourful photo or impress in black and white. Add together text to your pattern or just employ a single photo. You can print to the edges of the wood or leave some room for the picture to breathe.
It'due south upwardly to you how you make the photograph transfer to forest unique and creative!
Open your selected pic in a photo editing program like Lightroom or Photoshop and resize it to the dimensions of your piece of wood. The printing size you tin achieve is limited to your printer (typically A4).
Y'all can divide your movie in your photograph editing software and print a larger i in A4 segments. You can so fit together the pieces during the transfer process.
How to Print Your Image
When you place the photo down, yous are flipping it horizontally. This means the picture volition turn out in the opposite way than it was printed. Brand certain yous reverse any text yous desire to add to your photograph.
Use a laser printer or a dry toner printer and practise not use real photographs.
ii. The Mod Podge Method
Modernistic Podge is a craft mucilage and sealer method that we tin use in a agglomeration of ways. The Modernistic Podge method to transfer prints to woods takes longer than using label backing newspaper just delivers more detailed results.
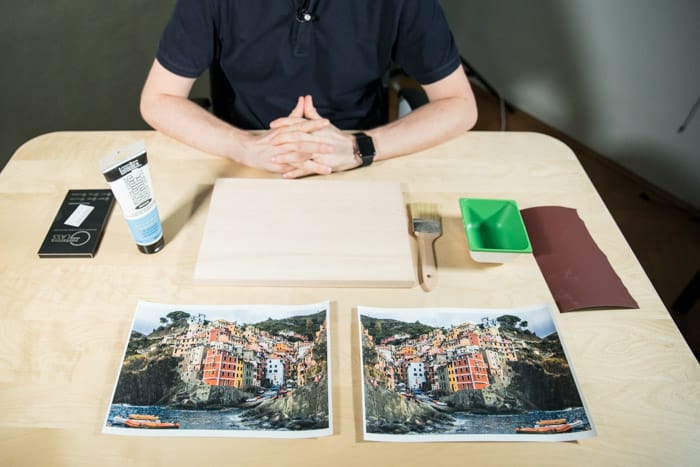
What You Will Need
- Mod Podge (bought at most craft stores)
- Sandpaper
- A paintbrush
- An image light amplification by stimulated emission of radiation printed on a piece of copy paper
- A slice of wood (plus several actress pieces for testers)
- A cloth or sponge
- Something to scrape the bubbling out of the image
- A light amplification by stimulated emission of radiation printer or dry toner printer
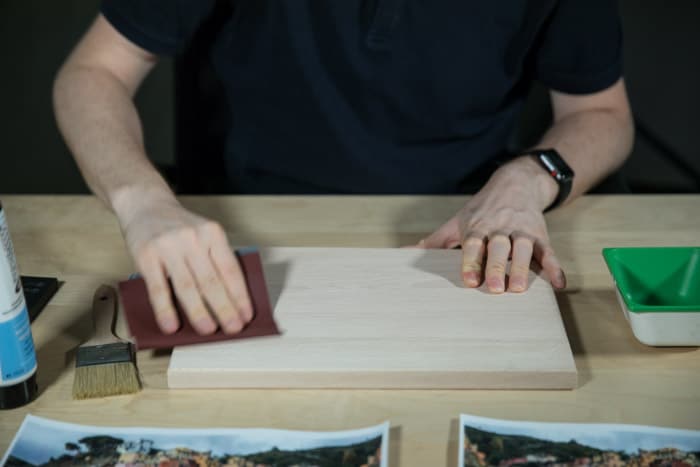
How to Prepare the Forest
To help requite the ink an ideal surface to transfer to, you lot'll demand to sand the wood back to roughen information technology upwardly a piffling. Sand your piece of wood in a circular motility until the very meridian layer of woods has been sanded off.
Give your piece of wood a wipe downwardly with a slightly damp cloth to remove any woods dust. Traces of dust could affect the transfer procedure.
How to Transfer Photos to Wood
Take your printed paradigm and cutting it to the dimensions of the woods.
Then apply a thick layer of Mod Podge to the print and place information technology face-down on the surface.
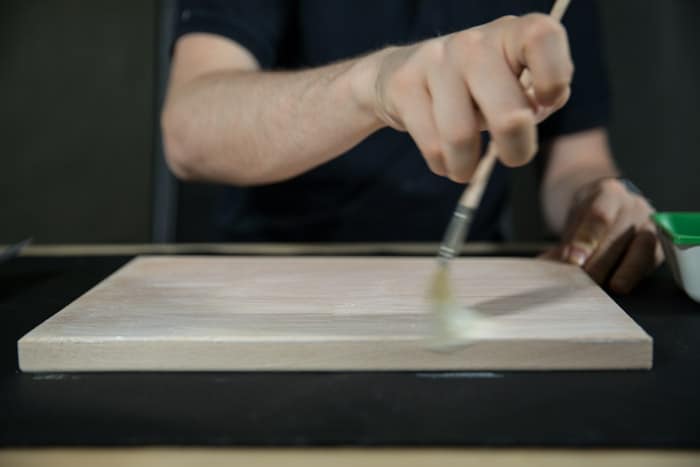
Apply force per unit area to the dorsum of the pic, smoothing out wrinkles and air bubbling. Allow it dry completely.
I commonly allow it dry for 24 hours.
How to Reveal Your Film
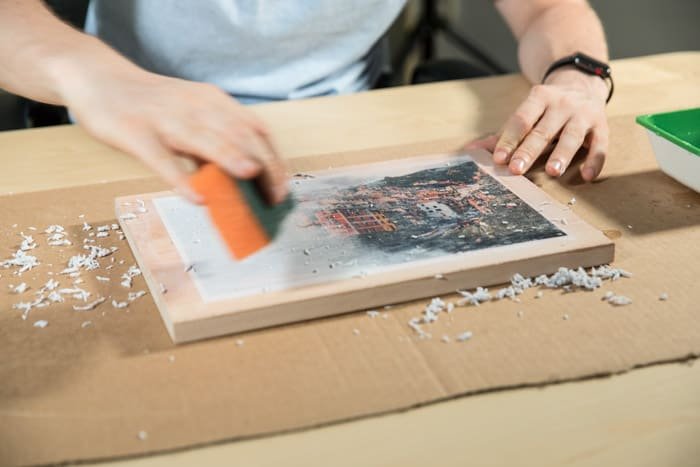
After the Mod Podge has completely dried, it's time to reveal your work of art!
Take a clammy cloth or sponge and get-go rubbing at the paper gently to betrayal your transferred photograph.

Make certain you are gentle when rubbing the surface. If y'all rub information technology also hard, you volition scrape off the whole photograph.
When you removed the get-go layer, let information technology dry a bit. Repeat the process until yous are happy with the upshot.
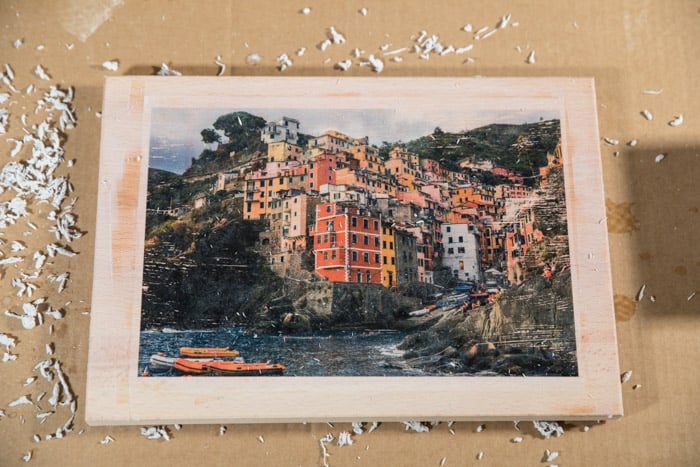
And here we have our final artwork! All we need is a little wiping subsequently the epitome has completely dried out.
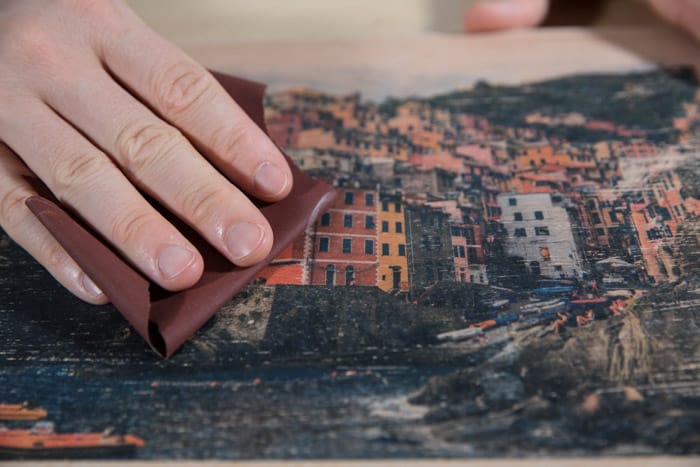
After this, yous may desire to use some sandpaper to fade-in the edges. This makes your picture await more than vintage.
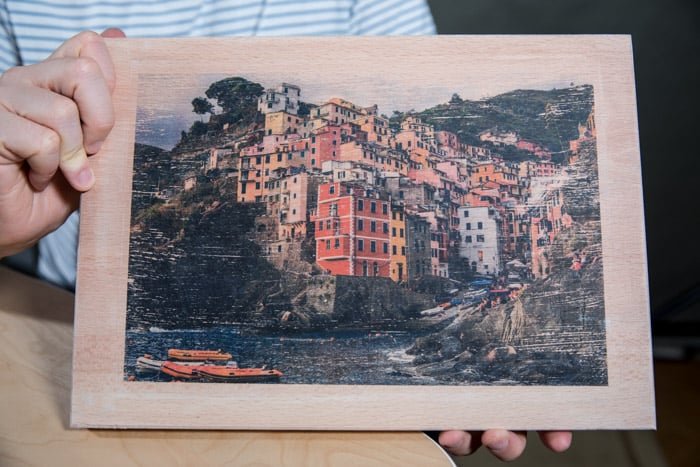
And voila! Here is the final image. The texture from the forest starts to evidence through the photograph, making it unique and different every time.
1. The Label Backing Newspaper Method
This is probably the easiest method to transfer photos onto wood. We'll apply the bankroll paper of a page of labels. This fashion, we can create a 'postage' for transferring the photograph.
Y'all tin can grab your ain on Amazon for a quite low price.
What You Will Need
- Several pieces of unsealed forest (one for your terminal epitome and several testers)
- Sandpaper
- A cloth
- A slice of characterization newspaper
- A printer
- Keycard or credit card
How to Set up the Forest
Like with the mod podge method, preparing the surface of the wood volition assistance your picture to adhere ameliorate.
Get your sandpaper out and sand the surface of the forest in an even circular motion to remove the very peak layer of the wood.
And then advisedly wipe information technology downwardly to remove whatever dust particles.
How to Impress Using Label Newspaper
One time you lot've resized your images to transfer, information technology's time to beginning press! Take out your piece of label paper and pare off the adhesive labels, leaving only the backing newspaper. Load this backing paper into your printer, with the shiny side orientated for printing.
Because the printed image may come out lighter or darker than the image on your computer screen, it's a good idea to make a tester first. Press print and carefully feed the backing paper into the printer.
A normal re-create paper would absorb the ink. Only the plastic seal of the backing paper prevents the newspaper from doing so. Instead, the ink sits on elevation of the plastic, creating your transfer postage stamp.
Transferring the Prototype to Wood
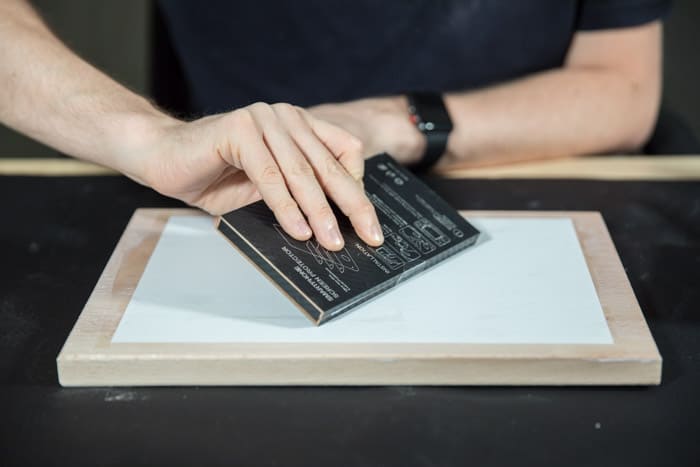
Take your slice of wood and lay information technology on a flat surface. Press your ink transfer face-downwards confronting the woods, pressing firmly and smoothing any bubbling. Avoid moving the transfer on the wood or your piece of work volition smudge.
Grab your keycard and slowly run it over the dorsum of the ink transfer. Make sure that every office of the backing newspaper makes business firm contact with the wood surface.
In one case you are happy that you've transferred all the ink from the bankroll paper to the forest, carefully skin off the bankroll newspaper and have a look at the results.
If the transfer is looking too dark, employ your photograph editing software to adjust the brightness and dissimilarity of the original image and repeat the process until you're happy with the concluding paradigm.
Conclusion
And there you have your artistic DIY photograph results! Ii easy ways to transfer photos to wood. Requite them a endeavour and bear witness united states what y'all come up upwardly with!
Transferring photos onto wood is 1 of the topics we encompass in our creative photography form, Wow Factor Photography. If you'd like to learn more, bank check out the form here!
Source: https://expertphotography.com/transfer-photos-to-wood/
Post a Comment for "How to Upload a Piece of Paper"